PROCESS
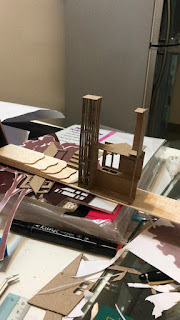
Started doing the front part
After that, add some layer as the landscape
Also, add the contour part
Started doing the behind part
Need to draw it in the angle and cut it out.
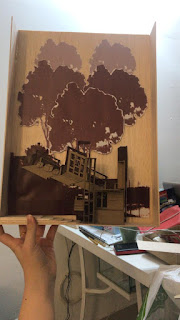
I used photoshop to make the background, then make it in few layers.
This is the model for the first submission.
SKETCHES/ IDEA DEVELOPMENT
I drew perspective and
section perspective.
MODEL
Before
After
REFLECTION ON UNDERSTANDING DEPTH IN
At the beginning of this project, me and Alinda were super confused that how to fit the section in to 2 inches. We asked and asked Mr Romzi and some classmates, but we still could not understand. The due date is getting closer, we have no choice to start without the fully understanding of this model making, but slowly getting clear of the idea when we started doing it. I tried to do section in the front, at the back part, I used perspective to show my model. The background I add on some environment, like trees, river... Also beside of the model, I add some contour for enhancing. It is a very quick project compare to the final and first project. I also add more detail for the kitchen part on the model, because it is bigger that the final project model, so I could add on more details to show the kitchen interior part, I made a coffee machine and the hanger for the tea. At the first submission for the project, I do it as portrait and too small in A3 size, and our lecturer felt that some of us need to redo our model, so we got the second chance. Mr Romzi suggested me to do in landscape instead of portrait, and do the model bigger, so could show more details. Then I did, it became better.


评论
发表评论